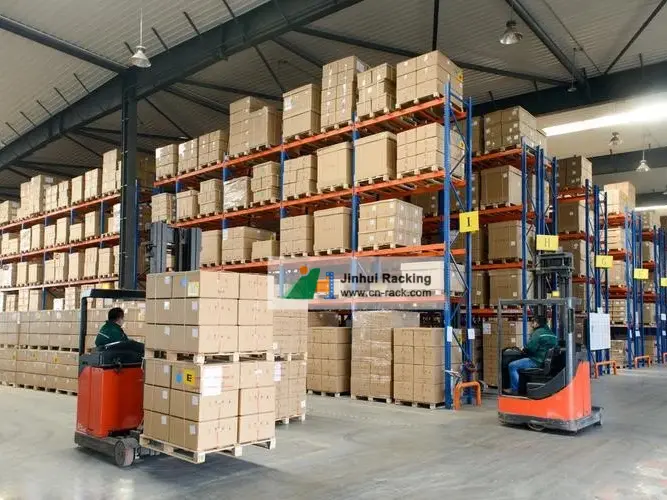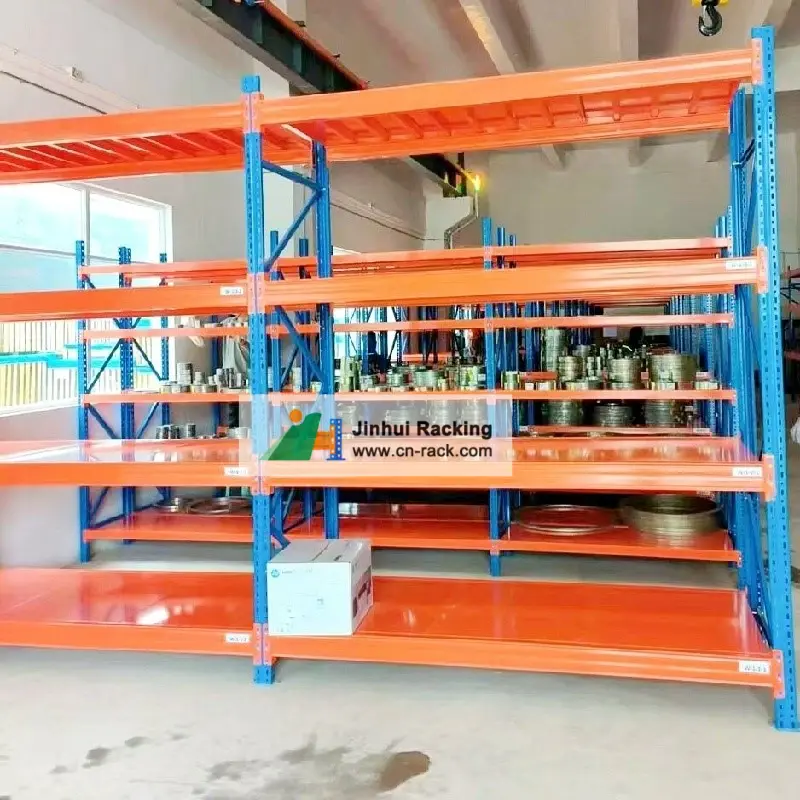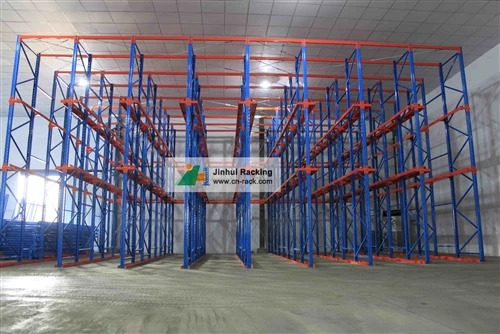

Hey there, fellow warehouse crew, logistics managers, and anyone staring at a maze of pallet racks thinking, "Hmm, we gotta move this stuff… or upgrade… or just fix a broken part and need to take this whole thing apart." If you're reading this, chances are you've found yourself in that exact spot-panic mode starting, wondering if you'll need a crowbar, a prayer, and a whole day off work. Trust me, I've been there. I run a pallet racking supply company, so I deal with racks every single day-selling them, fixing them, and yeah, sometimes helping folks take them apart when they've outgrown their space or need to rearrange for new gear like a motorized system. Let's break this down like we're chatting by the coffee machine, no jargon, no fancy stuff. Let's talk about how to disassemble pallet racking the right way, no tears, no broken parts, and definitely no injuries.
First off-before you even touch a wrench-you need to set the stage right. I see a lot of people skip this part and mess up everything. Let's start with the most obvious: safety. Pallet racks are heavy, those beams and uprights aren't just metal poles-they're engineered to hold thousands of pounds, and when you take 'em apart, they can shift fast. So, first rule: clear the area. Get everything off the racks first. No pallets sitting on the beams, no boxes stacked high-nothing. You wouldn't try to take apart a bookshelf full of textbooks, right? Same energy here. If you've got inventory on the racks, move it to a safe spot-maybe a temporary area, or even another section of the warehouse if you've got room. Bonus: this is a great time to do a quick inventory check while you're at it, kill two birds with one stone.
Next up, grab your crew. You don't need 10 people, but you can't do this alone. I recommend at least two people-one to steady parts, one to work the tools. More importantly, make sure everyone knows their job. Assign roles: someone on "beam duty," someone on "upright duty," someone keeping an eye on the area to make sure nothing falls. No one's grabbing parts they don't know how to handle. Also, wear the right gear-hard hats, closed-toe shoes, work gloves. Those splinters on metal aren't fun, and a falling bolt to the foot will ruin your whole day. Skip the flip-flops and the hoodie with the drawstrings that could get caught-keep it practical.
Okay, now we get to the actual disassembly step-by-step. Let's start with the top down. I know, I know-you want to get the big heavy parts out first, but trust me, working from the top prevents stuff from shifting. Let's break it down layer by layer.
First, the beams. Every pallet rack setup, whether it's your standard Static Pallet Racking or something more heavy-duty, has beams that clip into the uprights. Most of the time, those clips are quick-release-you don't need a wrench for 'em. Just push the spring-loaded clip on each end of the beam, and lift up. Simple, right? Wait, but hold on-before you yank that beam out, make sure it's completely free. No pallets sticking out, nothing blocking it. Lift straight up, not at an angle, because if you twist it, you could bend the beam or scratch the upright. Lay the beams down flat on the ground as you take them off-don't stack them on top of each other, that'll make 'em harder to move later, and they might get dented. Pro tip: if you're working with longer beams, get a buddy to help-those things can be 8 or 10 feet long and awkward.
Once all the beams are off, you're left with the uprights and the diagonals (those metal braces that keep the rack from wobbling). Now, let's talk uprights first. Wait, before you remove the uprights, you gotta take off any accessories that are bolted to 'em-like those safety bars, or the parts that hold the beams in place. If you've got something more heavy-duty, like Industrial Heavy Duty Rack Manufacturing Pallet Rack Logistics Equipment Factory Warehouse Storage Racks Heavy Duty Racking, those bolts might be tighter, so you'll need a wrench or a socket set here. Don't force bolts-if they're stuck, spray a little WD-40 and wait a minute, don't round them off. Rounded bolts are the worst, and they'll make you look like a newbie.
Now, the diagonals. Those are the X-shaped braces that connect uprights, and they're usually held on with bolts or clips. If it's a teardrop upright setup (you know, the ones with the little teardrop holes that make adjusting height easy), the diagonal clips are quick-release too. Just squeeze the clip and pull it out of the hole. If they're bolted, again, take your time with the wrench. Once the diagonals are off, the uprights are loose and ready to come down. But here's a big tip: don't just yank an upright out of the floor. Most uprights are anchored to the concrete with anchor bolts. Those are the big metal bolts that keep the whole rack from tipping over. If you try to yank the upright out, you might bend it, or even break the concrete around the bolt. So first, take off the anchor bolts. They'll have a nut on the bottom or top, use a socket or wrench to loosen them, then lift the upright straight up. If it's stuck, a little tap with a rubber mallet on the base usually helps-no sledgehammer, that'll chip the concrete and damage the upright.
Wait, what if you've got a more modern setup? Like New Design Motorized Mobile Racks System ? Those are a little different because they're mounted on rails that go along the floor. Disassembling those is similar, but first you gotta unlock the mobile units-most have a manual release lever, so you don't have to run the motor backwards. Unlock all the units, then take off the beams, diagonals, and uprights, then once those are gone, you can remove the rail system if you need to. Just make sure you label where each rail goes if you're reusing them later-trust me, you'll forget which is which if you don't.
And what about if you've got a draw-out setup? Warehouse Steel Storage Draw-out Racking and Shelving has those sliding drawers that make accessing pallets easier. Disassembling those is a little different because you gotta take the drawers out first. Most have a release lever on the side of each drawer-just pull the drawer all the way out, press the lever, and lift it off the rollers. Once all the drawers are out, you can take off the side panels and the support beams, then the main uprights. Don't forget to check the rollers while you're at it-if they're worn, you might wanna replace them when you put the rack back together, saves you time later.


Now, let's talk about the mistakes people make all the time. First, not labeling parts. If you don't label uprights, beams, diagonals, and anchor bolts, you'll end up with a pile of metal later that you can't figure out how to put back together. Grab some masking tape and a marker, write "Upright 1 Left," "Beam 3 Middle," etc. It takes 2 seconds, and it'll save you hours when you're reassembling. Second, not planning where to put all the parts. If you just toss them in a corner, they'll get lost, stepped on, or dented. Lay them out in an organized way, like sort all beams in one spot, diagonals in another, uprights leaning against a wall. Third, rushing. I see people try to take down a whole rack in 10 minutes because they wanna go home, and that's when injuries happen-strained backs, pinched fingers, falling metal. Take it slow, work steady, and if you're tired, take a break. No shame in that.
Another big thing: what if you're reusing the racks? Not just taking them down to scrap them. If you're moving them to another warehouse or rearranging space, you gotta be extra careful not to damage the parts. Beams bend easy if you twist them, and uprights can get dented if you drop them. So when you lay them down, use something soft like a blanket or cardboard to cushion them, so they don't scratch or dent. And keep all the small parts-bolts, clips, nuts- in a labeled bin. Don't let them roll under a pallet or get swept away, because replacing those small parts is cheaper than replacing an entire beam, but they're easy to lose.
Wait, what about if the racks are damaged already? Like, if one upright is bent, or a beam is cracked. Should you still disassemble them? My advice is: if it's a major damage, like a bent upright, don't try to take it down yourself. Call a pro, because a damaged rack is unstable, and trying to take it apart could make it collapse. But if it's just a small scratch or a loose bolt, you're good to go. Always do a quick check of the rack before you start-make sure there's no obvious bends, cracks, or wobbly parts. If something feels off, get a second set of eyes, or reach out to someone who knows racks, like my team.
Now, once you've taken everything apart, what's next? If you're moving the racks, wrap the parts securely so they don't shift in the truck. If you're storing them, keep them in a dry spot-metal racks rust if they're sitting on damp concrete, which weakens them. And if you're upgrading, like going from standard racks to that motorized system I mentioned earlier, we can help with that too-we sell all kinds of pallet racking, new and used, so you don't have to start from scratch.
Wait, let's recap the quick checklist to make sure you didn't miss anything:
- Clear all inventory from the racks. No pallets, no boxes, nothing.
- Grab a crew and safety gear (hard hat, gloves, closed-toe shoes).
- Work top down: remove beams first, then diagonals, then uprights.
- Label all parts so you don't get lost later.
- Keep small hardware in a labeled bin.
- Organize parts as you go-don't just pile 'em.
- Take your time, no rushing.
- Check for damaged parts before and after disassembly.
If you're still unsure, or if you've got a big setup like that heavy-duty rack or the motorized system, don't be afraid to reach out. Taking apart pallet racking doesn't have to be a headache, but it's way easier when you do it right. I've seen so many warehouses mess up a disassembly, only to have to buy new racks because they bent or broke the old ones. Save yourself the money and the hassle-follow these steps.
And hey, if you're thinking about upgrading your racks instead of just taking old ones down, we've got a whole range of options: from the basic Teardrop Pallet Rack that's perfect for adjustability, to heavy-duty industrial racks for big loads, even the motorized mobile systems to save space. Whatever your warehouse needs, we can hook you up. Just get in touch with our team to chat about your project, whether it's disassembly, new racks, or moving your existing setup. We're here to make warehouse life a little less chaotic.
Wait, one last pro tip: if you're taking down racks that are near other areas, mark off the space with caution tape. That way, no one accidentally walks into your work zone and gets hurt. Easy, but super important.
I think that covers it. Disassembling pallet racking is all about planning, taking it slow, and not cutting corners on safety. You don't need to be a pro-just follow these steps, use the right tools, and get a buddy to help. If you run into issues, or if you need new racks for after the disassembly, we're here. Hit us up to talk through your project, no pressure, just real advice for real warehouse folks.
References
- Material Handling Industry Association. (2022). Pallet Racking Disassembly and Safety Guidelines. Retrieved from industry official safety documents
- OSHA. (2021). Warehouse Safety: Guidelines for Working with Material Storage Racks. Retrieved from Occupational Safety and Health Administration official resources
- Pallet Racking Manufacturers Association. (2023). Best Practices for Disassembling and Reusing Industrial Storage Racking. Retrieved from trade association best practice guides